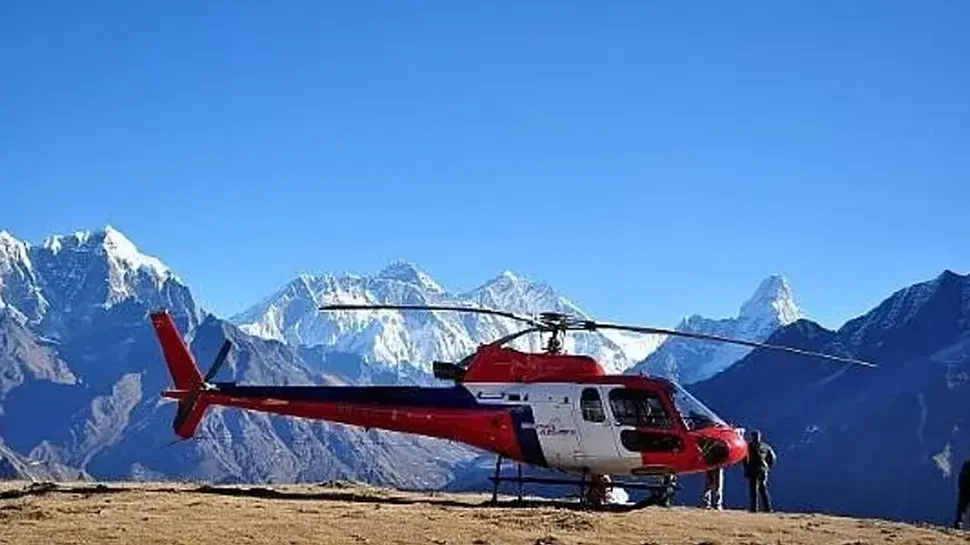
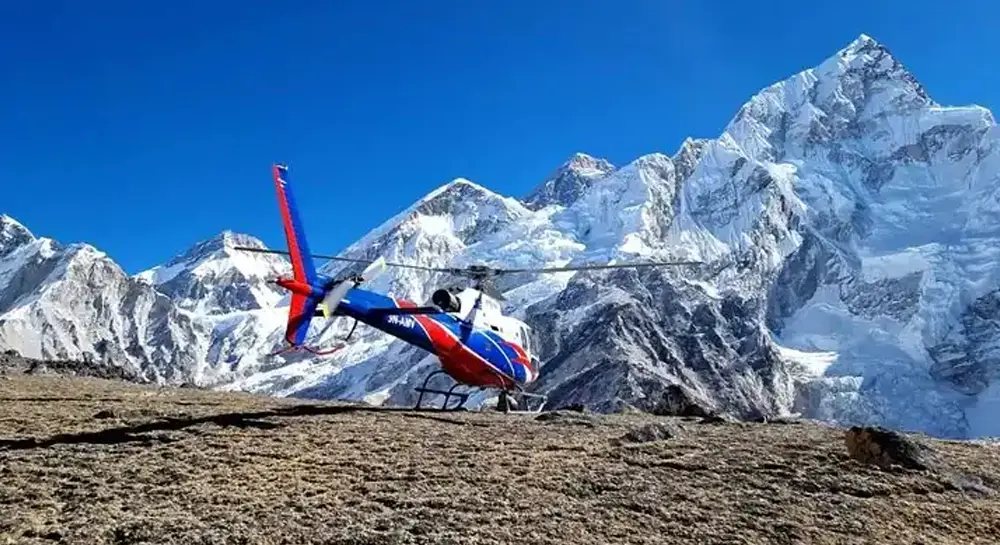
Everest Base Camp is one of the most famous places in the world. People from everywhere come to trek, adventure, and enjoy nature. It is in the Himalayas and it is the starting point for Mount Everest, the tallest mountain on Earth. Usually, it takes more than 12 days to reach the base camp by trekking through tough trails, high mountains, and Sherpa villages. Now, Everest Base Camp helicopter tours let you see Everest without the long trek.
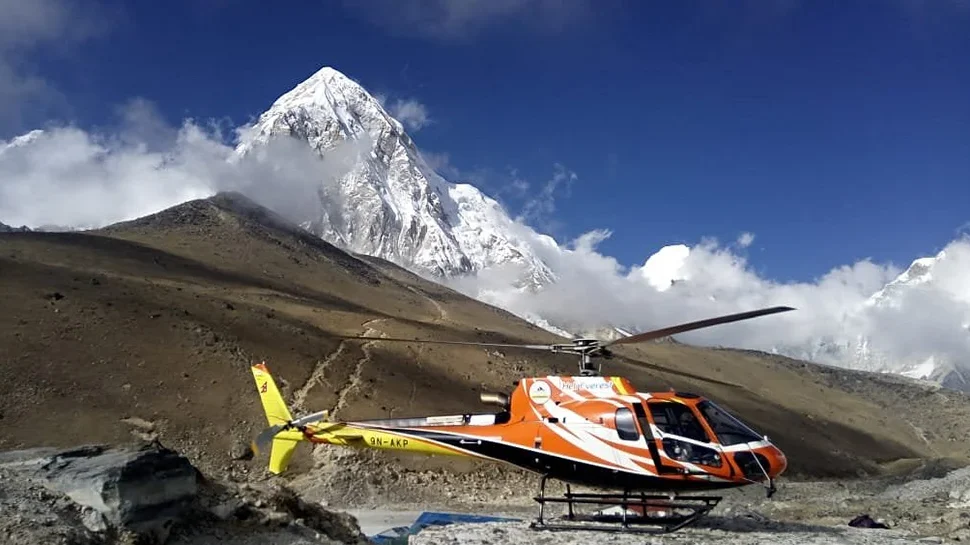
Everest helicopter photography is very popular. From a helicopter, you can take wonderful photos of the Himalayas, glaciers, valleys, and big peaks like Everest, Lhotse, Nuptse, and Ama Dablam. Aerial photos give a view you cannot get while trekking. These tours are quick, comfortable, and perfect for capturing the mountains.
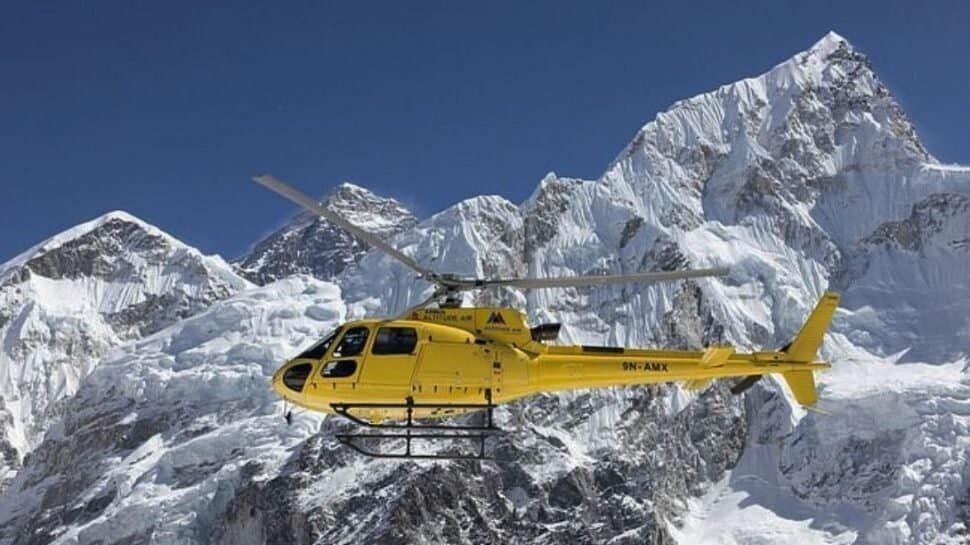
Taking photos from a helicopter can be tricky but also very rewarding. You can see amazing views and take beautiful landscape photos, but you need to deal with helicopter vibrations, window reflections, limited angles, and changing light. Even with these challenges, you can capture wide panoramic shots, close views of glaciers, and unforgettable pictures. With the right preparation and gear, travelers can take outstanding photos on Everest helicopter tours.
Why is Everest Helicopter Photography Unique?
- Panoramic Aerial Views: Take photos of Mount Everest, Lhotse, Nuptse, Ama Dablam, and nearby peaks from the air.
- Glaciers and Valleys: Capture glaciers, deep valleys, and high mountain landscapes.
- Sherpa Villages: Get rare aerial shots of Sherpa villages and trails near Everest Base Camp.
- Impossible Angles: Helicopter views let you take photos that are impossible on foot.
- Dramatic Light & Shadows: Early morning or late afternoon flights give the best lighting for stunning photos.
- Cloud & Weather Effects: Clouds and weather can add depth and mood to your pictures.
- Dynamic & Unique Shots: Aerial photography allows top-down, sweeping, and close-up mountain photos.
- Memorable Himalaya Experience: Combines adventure with capturing the amazing beauty of Everest.
Choosing the Right Helicopter Tour for Photography
Selecting the ideal helicopter tour is key to capturing stunning images of Everest Base Camp and the surrounding Himalayas. There are several options, each offering unique advantages for photographers:
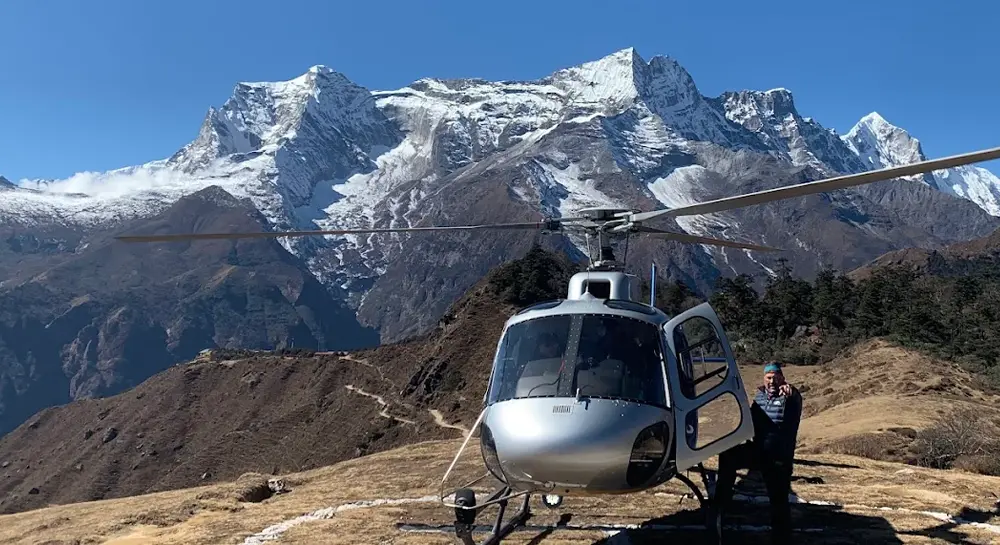
- Direct Landing at Everest Base Camp vs. Mountain Sightseeing Flights: A direct landing allows you to step out, frame your shots on the ground, and capture the base camp environment up close. Mountain sightseeing flights focus on aerial views of Everest, Lhotse, Nuptse, and other peaks, giving panoramic perspectives without landing. Photographers should decide whether they prefer ground-level composition or sweeping aerial shots.
- Private Helicopter Tours for Flexibility: Private tours let you control the flight path, timing, and landing spots. This is great for photographers who want to catch the golden hour, adjust for weather, or focus on certain peaks. You can fly over important areas multiple times to get the perfect shot.
- Group Tours vs. Private Tours—Pros and Cons: Group tours are more budget-friendly but have fixed itineraries and limited shooting time, which can restrict photography opportunities. Private tours are pricier but provide freedom, extra time, and the ability to stop or hover for better angles, making them perfect for serious photographers.
- Suggested Flight Durations: For optimal lighting and capturing the golden hour, consider booking tours early in the morning or late afternoon. Flights of 45–60 minutes are usually sufficient for short aerial photography, while longer tours allow multiple lighting opportunities and coverage of both Everest Base Camp and surrounding peaks.
Choosing the right tour depends on your photography goals, budget, and time, but prioritizing flexibility and timing will maximize your chances of capturing breathtaking images of the Himalayas.
Best Equipment for Everest Helicopter Photography
- Camera: Use a DSLR, mirrorless camera, or a high-end smartphone for clear, high-quality shots.
- Lenses: Wide-angle lenses for landscapes; telephoto lenses for peaks, glaciers, and distant subjects.
- Extra Gear: Bring polarizing filters, lens cleaning kits, and gimbal stabilizers for steady and clear photos.
- Memory & Power: Carry extra memory cards, spare batteries, and backup equipment to avoid running out during the flight.
Best Time and Weather Tips for Everest Helicopter Photography

Timing your Everest helicopter tour is essential to take the best photos of the Himalayas. The best months for helicopter tours and photography are pre-monsoon (March to May) and post-monsoon (late September to November). During these times, the skies are usually clear, giving excellent views of Mount Everest, Lhotse, Nuptse, and other peaks. Photographers can take sharp, colorful photos of snow-covered mountains, glaciers, and valleys without clouds or rain.
The golden hour, which is the time between sunrise and sunset, is the best time to take aerial photos because the light is breathtaking. Flying early in the morning or late in the afternoon allows photographers to capture warm, soft light that shows the details of snow, rocks, and glaciers. Shadows during these hours add depth and contrast, making photos of Everest truly amazing. Planning your flight for these times can greatly improve your pictures and experience.
Weather and safety are essential for helicopter photography. Clouds, fog, and strong winds can reduce visibility and make photography harder. Sudden changes in weather can also affect flight safety. Pilots may delay or change flight plans to ensure clear conditions. Check real-time weather, stay aware of sudden changes, and follow all safety instructions to take the best photos safely during your Everest helicopter tour.
Composition Tips for Aerial Photography
Capturing the Himalayas from a helicopter requires attention to composition to make your photos look wonderful. Here are some important tips:
- Framing Mountains, Peaks, and Valleys: Use natural lines and shapes in the mountains and valleys to create a balanced picture. Place the tallest peaks or glaciers as the main focus to draw attention.
- Rule of Thirds, Leading Lines, and Symmetry: Use photography rules like the rule of thirds to place important elements, use lines like rivers or ridges to guide the viewer’s eye, and look for symmetry in landscapes for lovely shots.
- Capturing Scale: Include things like helicopters, climbers, or tents to show how big the mountains are. This helps people see the giant size of Everest and nearby peaks.
- Experiment with Altitudes and Angles: Change your shooting height and angles to get different views. Low-angle shots from the helicopter show textures, while higher aerial angles show wide landscapes and patterns in snow and rocks.
These tips ensure your Everest helicopter photography looks professional and dramatic and highlights the grandeur of the Himalayas.
Camera Settings and Techniques for Everest Helicopter Photography
- Shutter Speed, ISO, Aperture: Use a rapid shutter speed (1/500s+), ISO 100–400, and aperture f/8–f/11 for sharp, clear images.
- Reduce Motion Blur: Hold the camera close, use a strap or gimbal, and shoot in burst mode. Focus on high-contrast areas like mountain edges.
- Shooting Through Windows: Press the lens against the window, avoid direct sunlight on the glass, use polarizing filters, and clean the window for clear shots.
- Snow and Bright Conditions: Slightly overexpose (+0.3 to +1 EV), use spot metering, and adjust white balance for accurate snow and glacier colors.
- Extra Tips: Keep batteries warm, protect your gear from cold, and use manual settings if automatic modes struggle with brightness.
Safety and Post-Processing Tips for Everest Helicopter Photography
Taking photos of Everest from a helicopter is a wonderful experience, but it has some challenges. Photographers face harsh weather, high altitudes, helicopter movement, and reflections from the windows. It’s important to focus on safety and practical tips while also getting ready for post-processing to make your photos look better. Good planning, proper gear, and editing skills make sure your aerial shots are safe and look stunning.
Safety and Practical Tips for Photographers
- Wear warm clothes, gloves, and layers to stay comfortable on long flights.
- Always fasten your seatbelt and follow the pilot’s instructions.
- Keep cameras and gear secure to avoid damage from sudden movements or turbulence.
- Protect your equipment from cold, moisture, snow, and condensation.
- Keep lenses clean and use lens caps when not taking pictures.
- Bring extra batteries and memory cards because cold weather drains battery life fast.
- Don’t lean too much on helicopter doors or windows while shooting.
- Plan your shots ahead to move less and stay safe while capturing the Himalayas.
Post-Processing Tips for Everest Helicopter Photography:
- Adjust Brightness and Contrast: Make snow, mountains, and valleys clearer.
- Color Correction: Improve the colors of the sky, mountains, and glaciers.
- Remove Window Glare and Reflections: Fix unwanted spots using editing tools.
- Crop and Straighten Horizons: Correct tilted shots caused by helicopter movement.
- HDR Editing: Balance bright snow and dark shadows for full tones.
- Panorama Stitching: Combine several images for wide, seamless Himalayan views.
- Sharpen Details: Make snow, rocks, and glaciers look clearer.
- Final Touches: Change saturation, shadows, highlights, and clarity to make your photos look better.
Being careful with safety and editing helps you take wonderful and safe photos of Everest, showing the beauty of the Himalayas in a professional and creative way.
For more details you can reach out to us by filling this form :- here
or you can reach out to us via this website too- Himalayanluxuryholiday
Conclusion: Capturing the Best of Everest Helicopter Photography
Flying over the tallest mountains and taking pictures of the Himalayas makes Everest helicopter photography exceptional. To take excellent photos, you need to be ready, use the right gear, and choose the best time. Planning for favorable weather, lighting, and flight timing, like golden hour, helps you capture Everest, Lhotse, Nuptse, Ama Dablam, and other peaks in their full beauty. For both photographers and travelers, planning your trip with photography in mind turns a regular helicopter ride into an exciting adventure. Knowing the best flight paths, landing spots, and viewpoints helps you take the best shots and ensures that every photo shows the beauty of the Himalayas. Don’t miss the chance to take breathtaking aerial photos of the Himalayas. Book your Everest Base Camp helicopter tour today and experience the adventure firsthand.